Friday, May 30, 2014

Construction Update - First Floor Concrete

Got a big delivery today; the first floor came (in liquid form).


 The last week has been really busy getting all the forms, and metal reinforcements in place. We are really happy with the progress, and the engineers are satisfied with the quality of work.


The crane is proving it's worth too. It only took about 10 minutes to drive up the cement mixer and pour 2 tons of concrete! Doing this with wheelbarrows and a small on-site mixer would have taken days.


The concrete will have to set for a while, but they can start building the forms for the second floor next week. The progress over the last year and a half has been frustratingly slow for us. The approval process was expected to be slow, but it took us a lot longer then expected to find a good contractor and get them working. Thankfully, (so far) it looks like we made the right choice on the contractor, and we are really happy with our architect, and engineering work. Things are really starting to move now, and it's great to see!


Saturday, May 24, 2014

Construction Update - Forms for 1st Floor Concrete

Last week the metal structure for the first floor was completed, and the wooden forms for the concrete sections of the first floor are going in. The concrete slabs will be done in 2 phases, first the metal beams will be encased, and then the floor sections between the beams will be added.  The wooden forms have to be supported from below while the concrete hardens, so going into the house now is a bit like walking into a forest of steel supports.


They will be adding more wooden forms and supports over the next few days, then on Wednesday hopefully they can pour the concrete.  I say 'hopefully' because the weather is forecast to be a little rainy on Wednesday and it needs to be dry when the concrete is poured.

Originally, we had hoped to build the house using more traditional building techniques, for example wood frame, instead of steel/concrete, but the current building codes in Europe seem to make it nearly impossible.  The requirements for thermal and sound insulation are very strict, and the extra weight and space that these requirements impose would have made wood framing very awkward (bordering on impossible).

In other news, I have the first successful capture from the time-lapse camera! My early plan to put the camera outside didn't work out well because when the crane came it completely blocked the view. I moved the camera inside, and looking at the result today, I think I'll be keeping it there.  Below is the month of May (excluding weekends and night time); one photo per hour condensed into a 15 second clip.  It gets interesting after about 10 seconds (when the metal structure starts going in).


Wednesday, May 21, 2014

How to Grow a Rubber Plant from Cuttings

Homeboy made it!  It was a struggle, but from the 5 cuttings I started, I now have new growth from 2. Another cutting continues to hang on, and will probably make it.  Then there were two which shriveled and died.  Ultimately we really only needed one to 'keep it real' for Homeboy, so I call this a raging success!

Ultimately, I was able to get the information I needed from the internet. There are lots of sites, and some videos that describe the process, but having done it for the first time using these sources, I've decided to make my own post because there were some details that were not really explained clearly enough.  I'm not a gardener, for all of my adult life, I've lived in apartments in cities.  Apart from the occasional houseplant, my horticultural experiences in embarrassingly limited.  I think that makes me the perfect person to explain this process to a novice because I'm going to assume they're starting where I did. I'm not taking any knowledge for granted.

Rubber plants seem pretty simple.  Each branch will end in a little pointy structure called the 'growing tip' or more technically the 'apical meristem'. When the plant grows, the meristem grows longer and eventually unsheathe a new leaf, a small extension of stem, and a new meristem.  As the plant grows, it results in a succession of leaf/stem segments or 'nodes' (see diagram in the picture below).


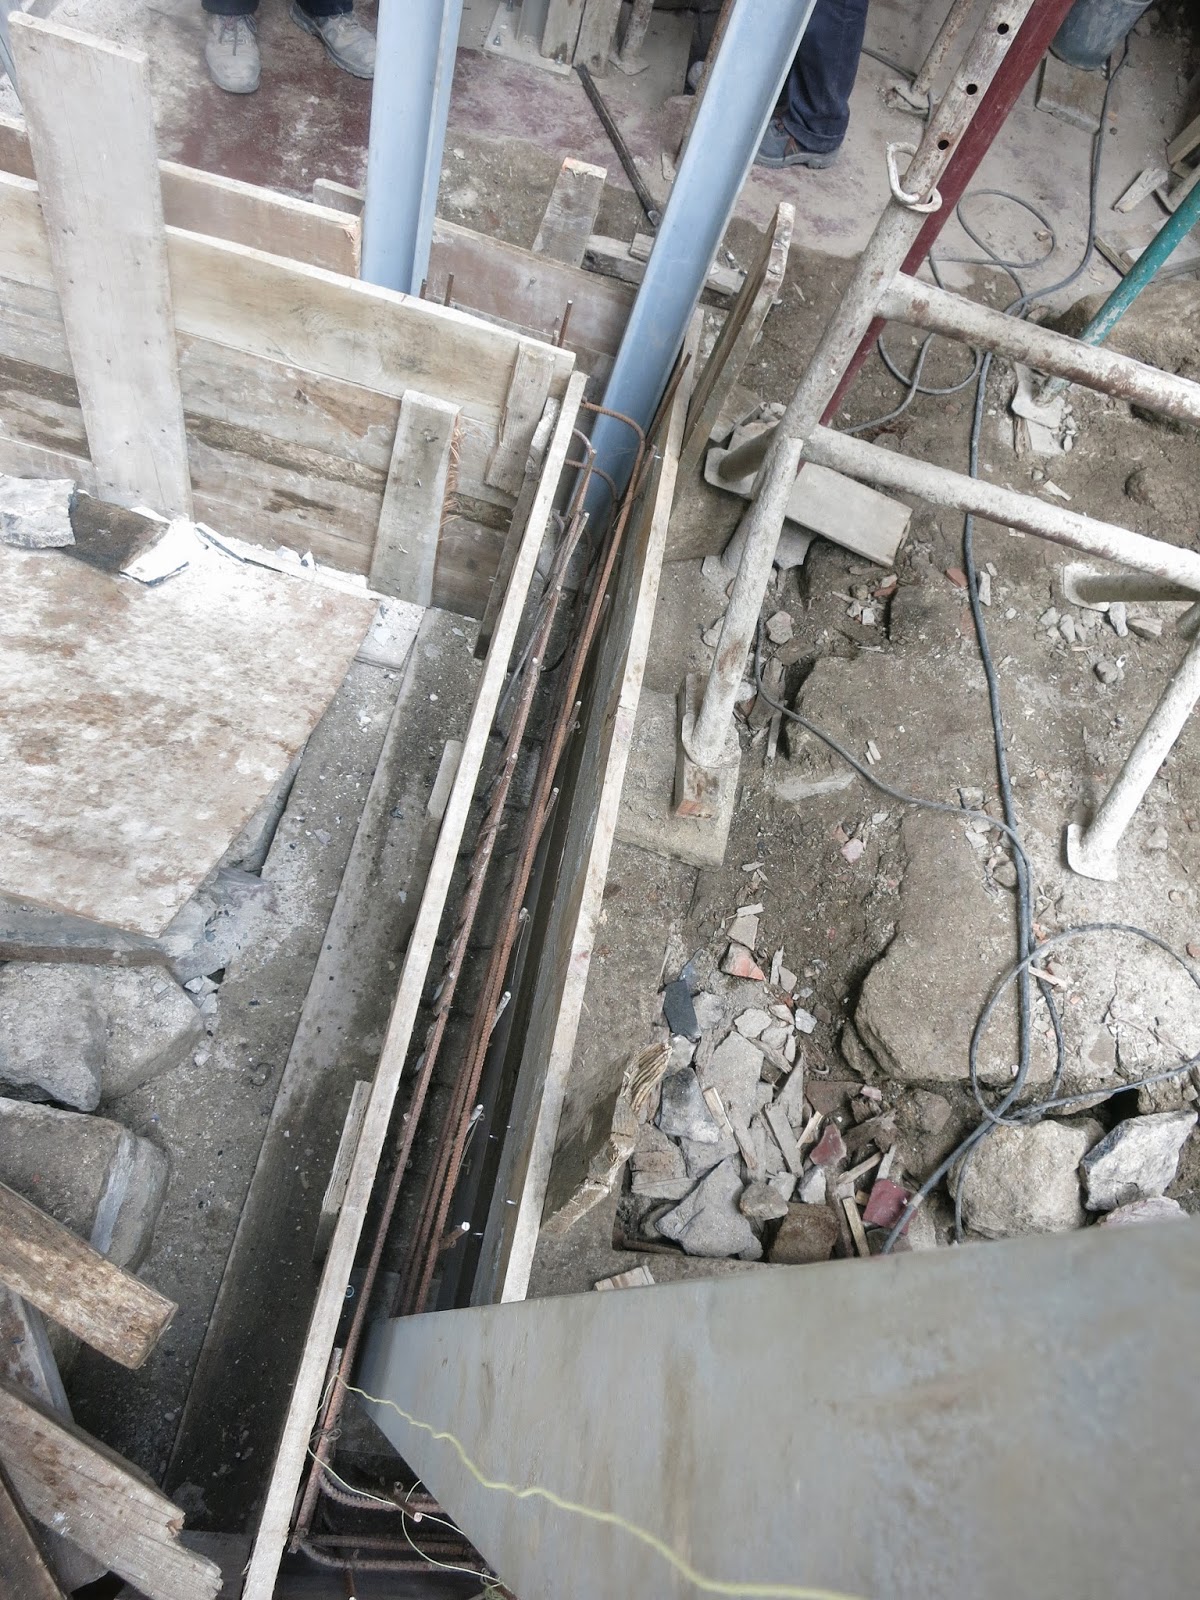
Pruning the plant can be done by cutting just above a node on any branch. These plants are really hardy, so there is little danger of cutting too much. In the garden of the house, they have already chopped Homeboy down, but the other day, I noticed that even cutting every branch to the root had failed to kill him! This picture shows new sprouts growing from the stump:


After pruning, water the plant daily for the next few weeks, and it will respond by starting some new branches. Pruning these plants once a year or so is useful unless you want them to look like a long stick with lots of leaves growing off it.

To take cuttings (for propagating the plant) you just need to cut a stem or branch 4 or 5 nodes below the meristem. Remove the lower leaves so that only 3 remain.  Removing the bottom leaves will result in a stem section 2 or 3 nodes long, this is important because the new roots will grow from the side of the nodes.


There are several techniques to get the roots started.  Some websites suggested using moss soaked in water to cover the bottom 2 or 3 nodes of the cutting, and covering this in plastic wrap to hold it in place and keep it moist.  Other websites suggested that the cuttings could just be placed in a bottle with water covering the bottom portion until the roots start to grow.  I also saw suggestions that the cuttings can be planted directly into soil. I didn't have moss, so I tried the water and direct soil techniques with 5 cuttings (2 water, 3 soil).

It was also frequently suggested on the internet that 'rooting hormone' would help with the process. If you have rooting hormone, just coat the bottom 2 nodes in it before planting in soil, water, or moss. I found rooting hormone in a gardening shop, and used it. It's hard to say if it made any difference, for the cuttings I rooted in water, I'm pretty sure it didn't help, the water probably just diluted it or washed it away. If you are using rooting hormone, and planting in soil, it is suggested that you put the stem in a hole in the soil, and then carefully fill the soil in around the stem so that you don't knock off the hormone.

I was also told to cut the three remaining leaves in half (the damage to these leaves seems to encourage the plant to start rooting). After preparing my cuttings for rooting, they looked like this:


After all this, the only thing left to do is put them in a shady place and wait.  If you potted the cuttings in soil, make sure it stays very moist, it's best to water it once or twice a day.  They like it to be warm, and humid, and i've read that you can cover them (the whole plant) in a plastic bag to help keep it humid near the plant (I didn't do this). Rooting takes a long time to start, and nothing happens in the meantime.  For me, I saw no progress at all for about a month and a half, and then just when I was about to give up the cuttings in the water bottles started showing some life. Although springtime in Porto is usually pretty warm, we had a strange one this year, and it remained cold well into April; I think this contributed to the long wait for my roots to start. About a week after this first bulges started to appear on the root spots, the roots were a millimeter or so long:


I got supper excited about this (I'm a geek that way, if you haven't noticed already) and decided to transfer them to soil and put them somewhere that they could get a little direct sunlight.  I think this probably was pre-mature, and if I were doing it again, I would definitely let the roots get to 3 or 4 mm long before planting.  It took a further 2 months before I saw any new growth.  In that time, two of the cuttings I planted in soil shriveled up and died.  After 2 months, I noticed the meristem of one of the cuttings start to bulge and then a day or two sprout a new leaf.  Now all 3 remaining cuttings are growing well.


Monday, May 19, 2014

Steel Girders Came Today!

We were getting a little frustrated because the steel structure was supposed to go in last week, but the fabricator was slow on the delivery.  They finally came today, and now the skeleton is going in.


It is a little unusual to use structural steel on a small house like ours.  It's more expensive then reinforced concrete, but using concrete would have required us to place large supporting pillars to support the weight of the upper floors.  Space is a real issue for us, so we chose to use steel in spite of the extra expense (it didn't really work out to be that much more anyway).

It wasn't really possible to go in the house with all this work going on, so I will go to the house tomorrow to get some more pictures.

Saturday, May 10, 2014

Foundations

I'm having weekly meetings with the general contractor for the house and in addition to the necessary oversight, I'm finding it a convenient time to snap a few pictures and update the blog.  If you have been enjoying the blog so far, you might want to comeback more frequently (weekly) now.  You can also add your e-mail address in the 'subscribe' box on the right to get updates via e-mail.

The foundations have started going in.  Of course, since we are just doing extensive remodeling of an existing house there is not a huge amount of foundation work to do.  There will be a new structural wall, and some things like that.


Traditionally, the beams supporting the floors were built into the walls, however it's much easier and stronger (more fire resistant) to use a metal subframe now, so the steal workers were in bolting/welding the subframe to the walls.


There still demolition work going on too.  The roof is slowly coming down which is a delicate process, made a little easier with the crane.


We had hopped to use some of the wood from the roof in the new construction, but the condition is too bad.  It's a shame, but the climate in Porto (warm, sometimes humid with wet, temperate winters) is perfect for rotting wood.  Fungus (dry root) damage is common, and insect damage is endemic to old house such as ours.  Woodworm (which is actually a beetle) loves Porto.  When we were looking for a location for Terraplana, we saw many houses, and they all had some degree of wood that looked like this:


The tiny holes are exit holes for the adult beetles.  They do not eat wood as adults, but they lay their eggs in the cracks of the wood and the larva feed there.  The only defense is prevention.  The prevalence of wood damage is one of the reasons we chose a relatively small house for Terraplana.  Every house we saw would require a ground up rebuild of the wood structure, so the only choice for us was to take on a smaller house.

Saturday, May 3, 2014

Demolition Is Mostly Complete

The house that we bought is now nearly completely gutted.  Last week, the first new structural elements (some metal beams that will join the floors to the walls) were added.  Holes were also dug for the foundation of a structural wall we are adding to support the stairs leading to an apartment above the bar. Opening the holes was a bit of a nervous moment for us because we were required to hire an archeologist to be present for the process. Of course, discovering anything below the floor of the house could have been a major setback to the progress of our construction. Fortunately, there was nothing more then some relatively recent (maybe 100 years) remains of the house predating ours. There is some more digging to be done, but so far it does not appear that we will have archeological discoveries.


Having the crane has already helped move things along nicely.  The old stairs were supported by a stone wall in the interior of the house.  Moving the mess of stones created when that wall was demolished would have been a huge job without the crane.


There is still a lot of work to do, but it's nice to see the space finally opened up.  I can stand there now and dream about what the bar will look and feel like.  It's an exciting process, and it gets easier to imagine as more work is completed.